Page 246 of 324
Bultaco fork seal change
Posted: Sat Aug 08, 2020 8:27 pm
by David Lahey
I fitted new fork seals to this Bultaco model 49 back in 2005 and they have always had a little bit of a weep. The photo shows what leaked out during about 3 hours of trials riding. I wasn't bothering me but what was bothering me a bit is the dust scrapers being from a different era to the rest of the bike. I think it spoils the look. In 2005 they were the only type of Bultaco fork seal dust scrapers I could get.
The dust scrapers with the normal look for a model 49 are now readily available. What else is also available are these SKF green fork seals which claim to generate less friction than the usual seals. I've been wanting to try the green SKF seals on a Yamaha but they don't make them in Yamaha sizing.
Re: Basket Cases
Posted: Sun Aug 09, 2020 6:44 pm
by David Lahey
Progress on the

fork seals.
Remove slider
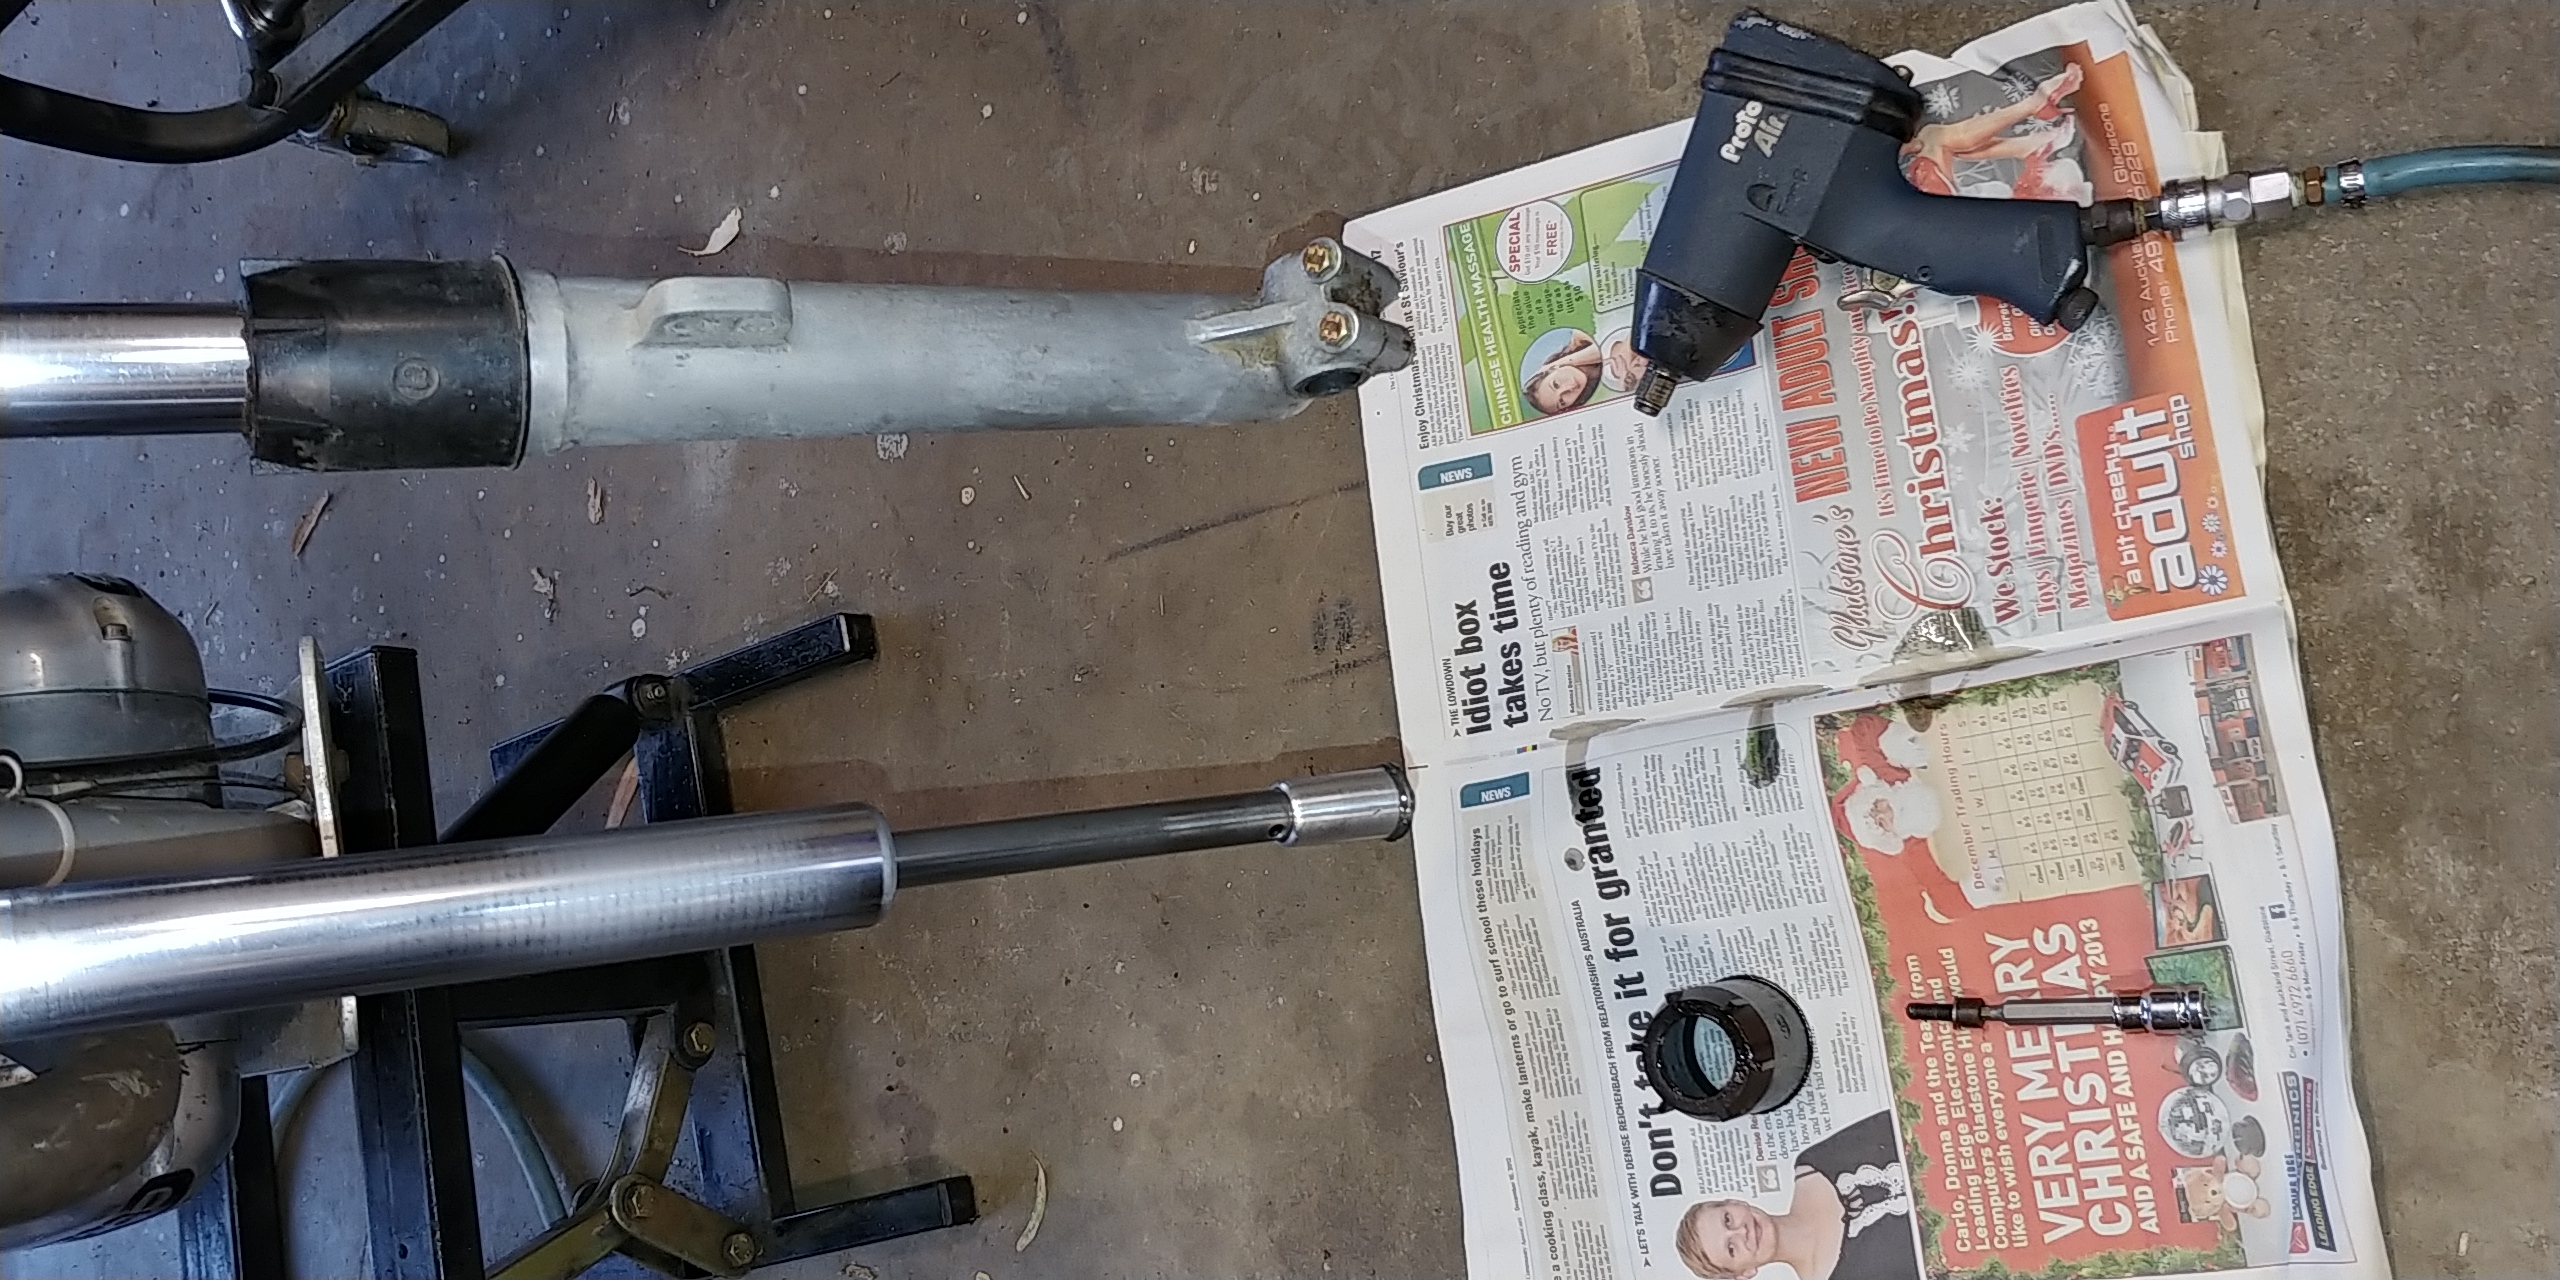
- 20200809_173512.jpg (1.44 MiB) Viewed 2383 times
Remove retaining clip
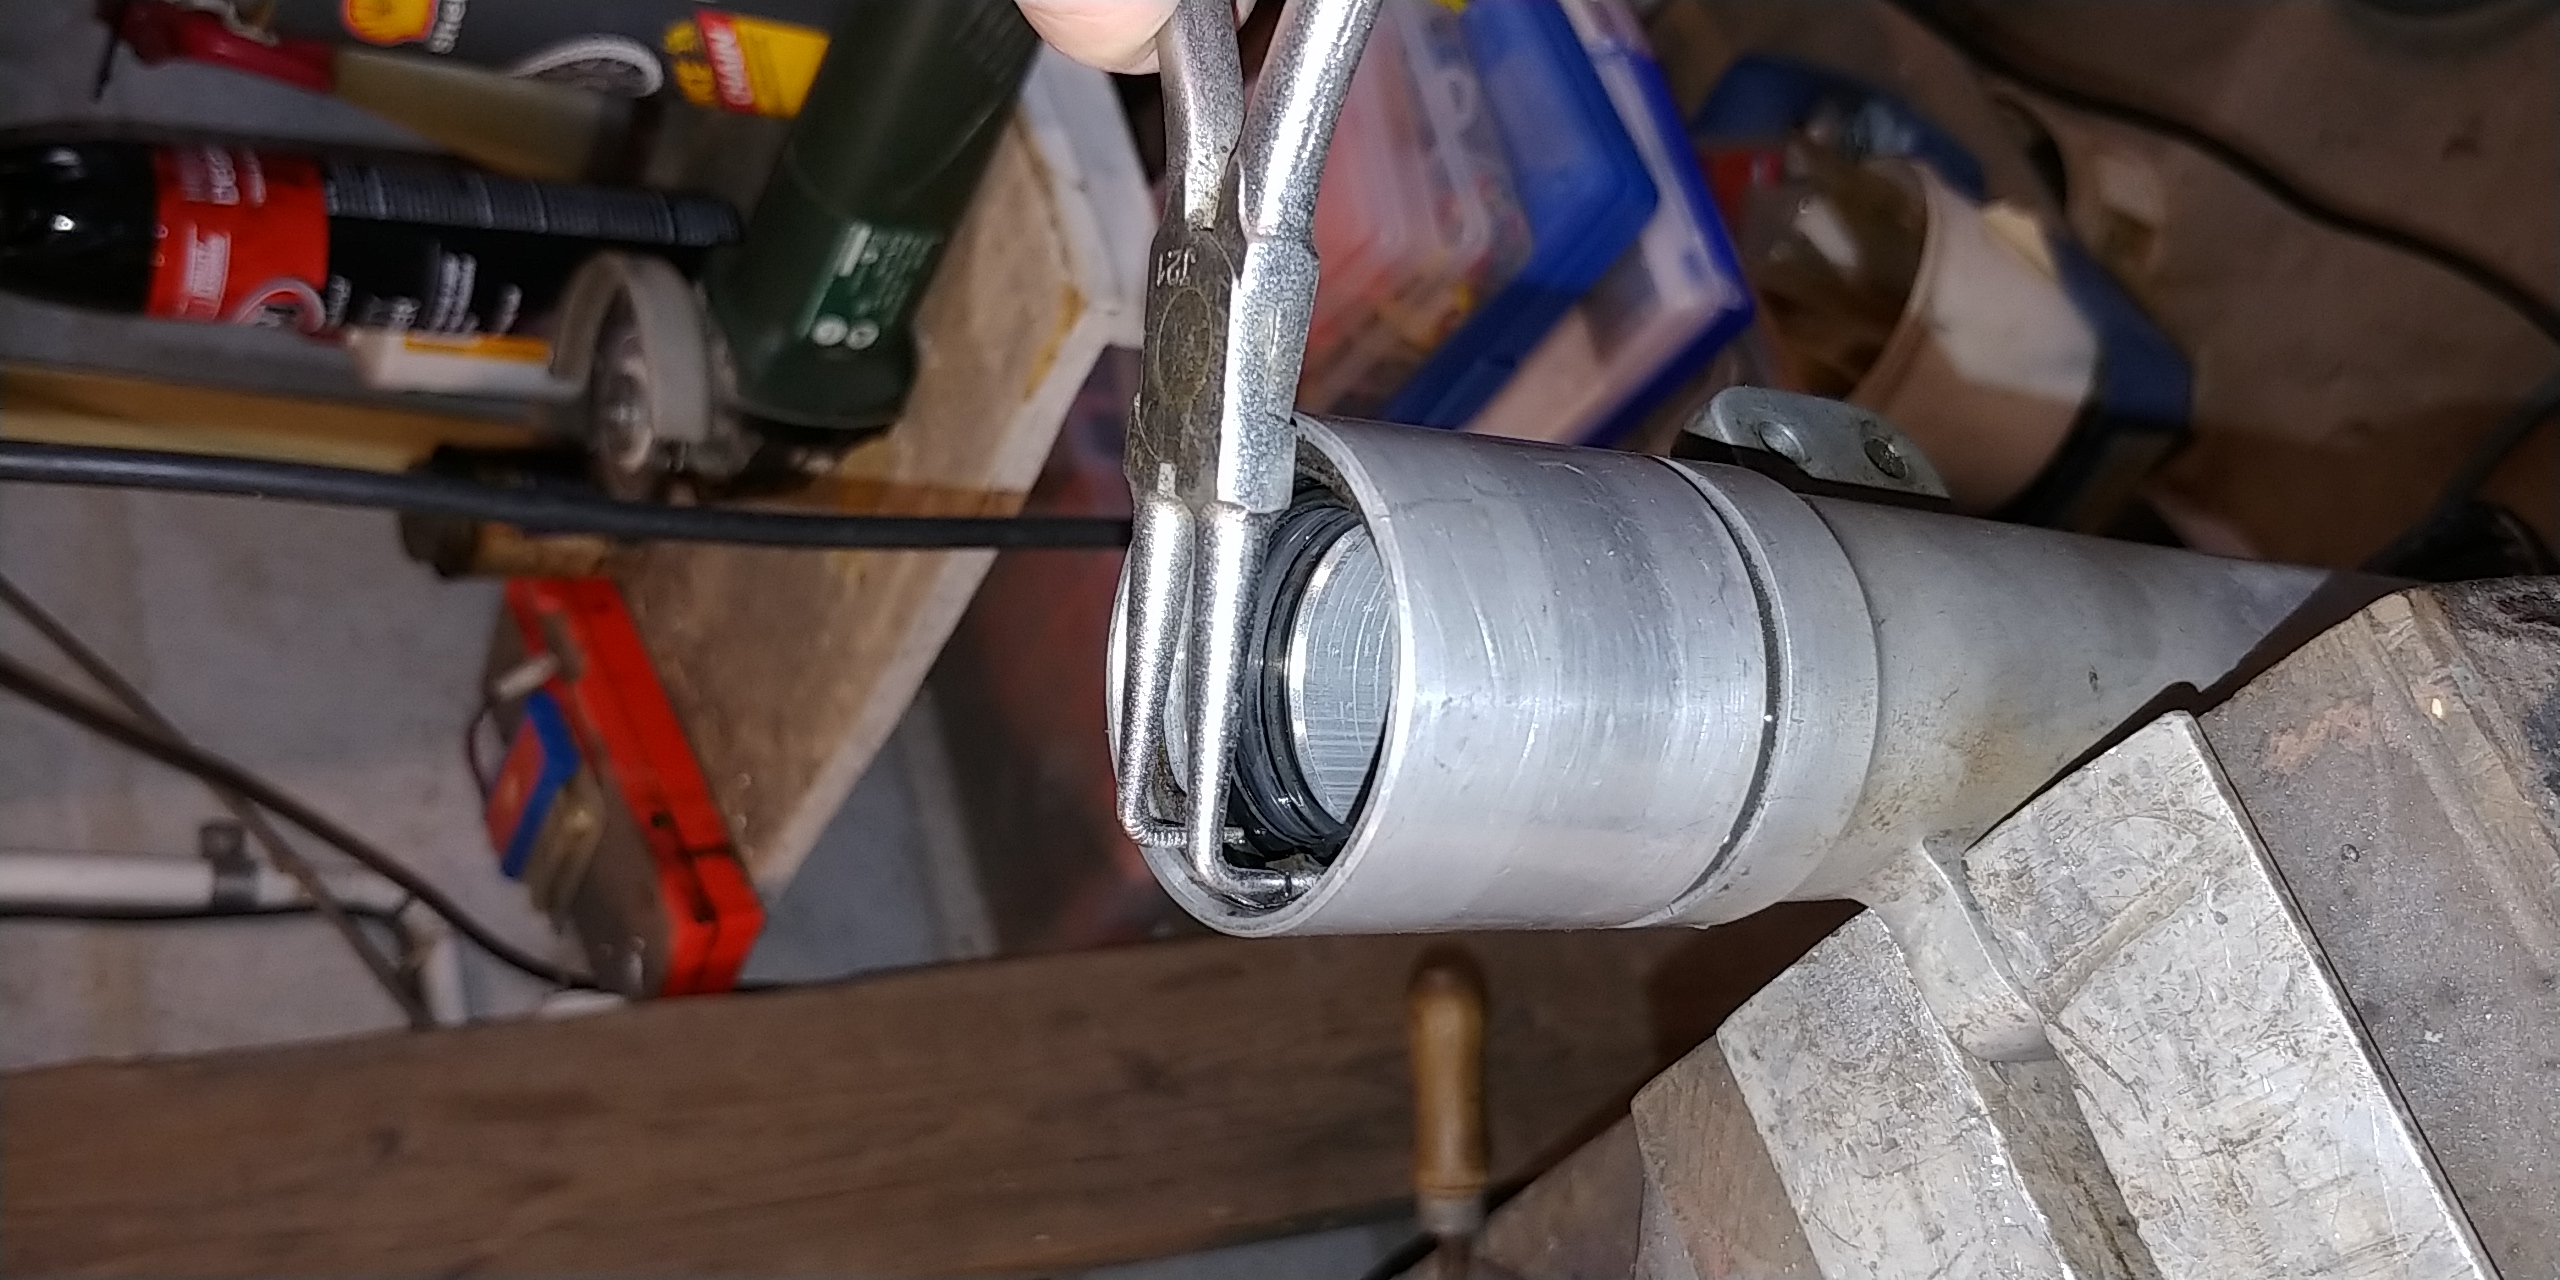
- 20200809_173453.jpg (1.18 MiB) Viewed 2383 times
Heat slider
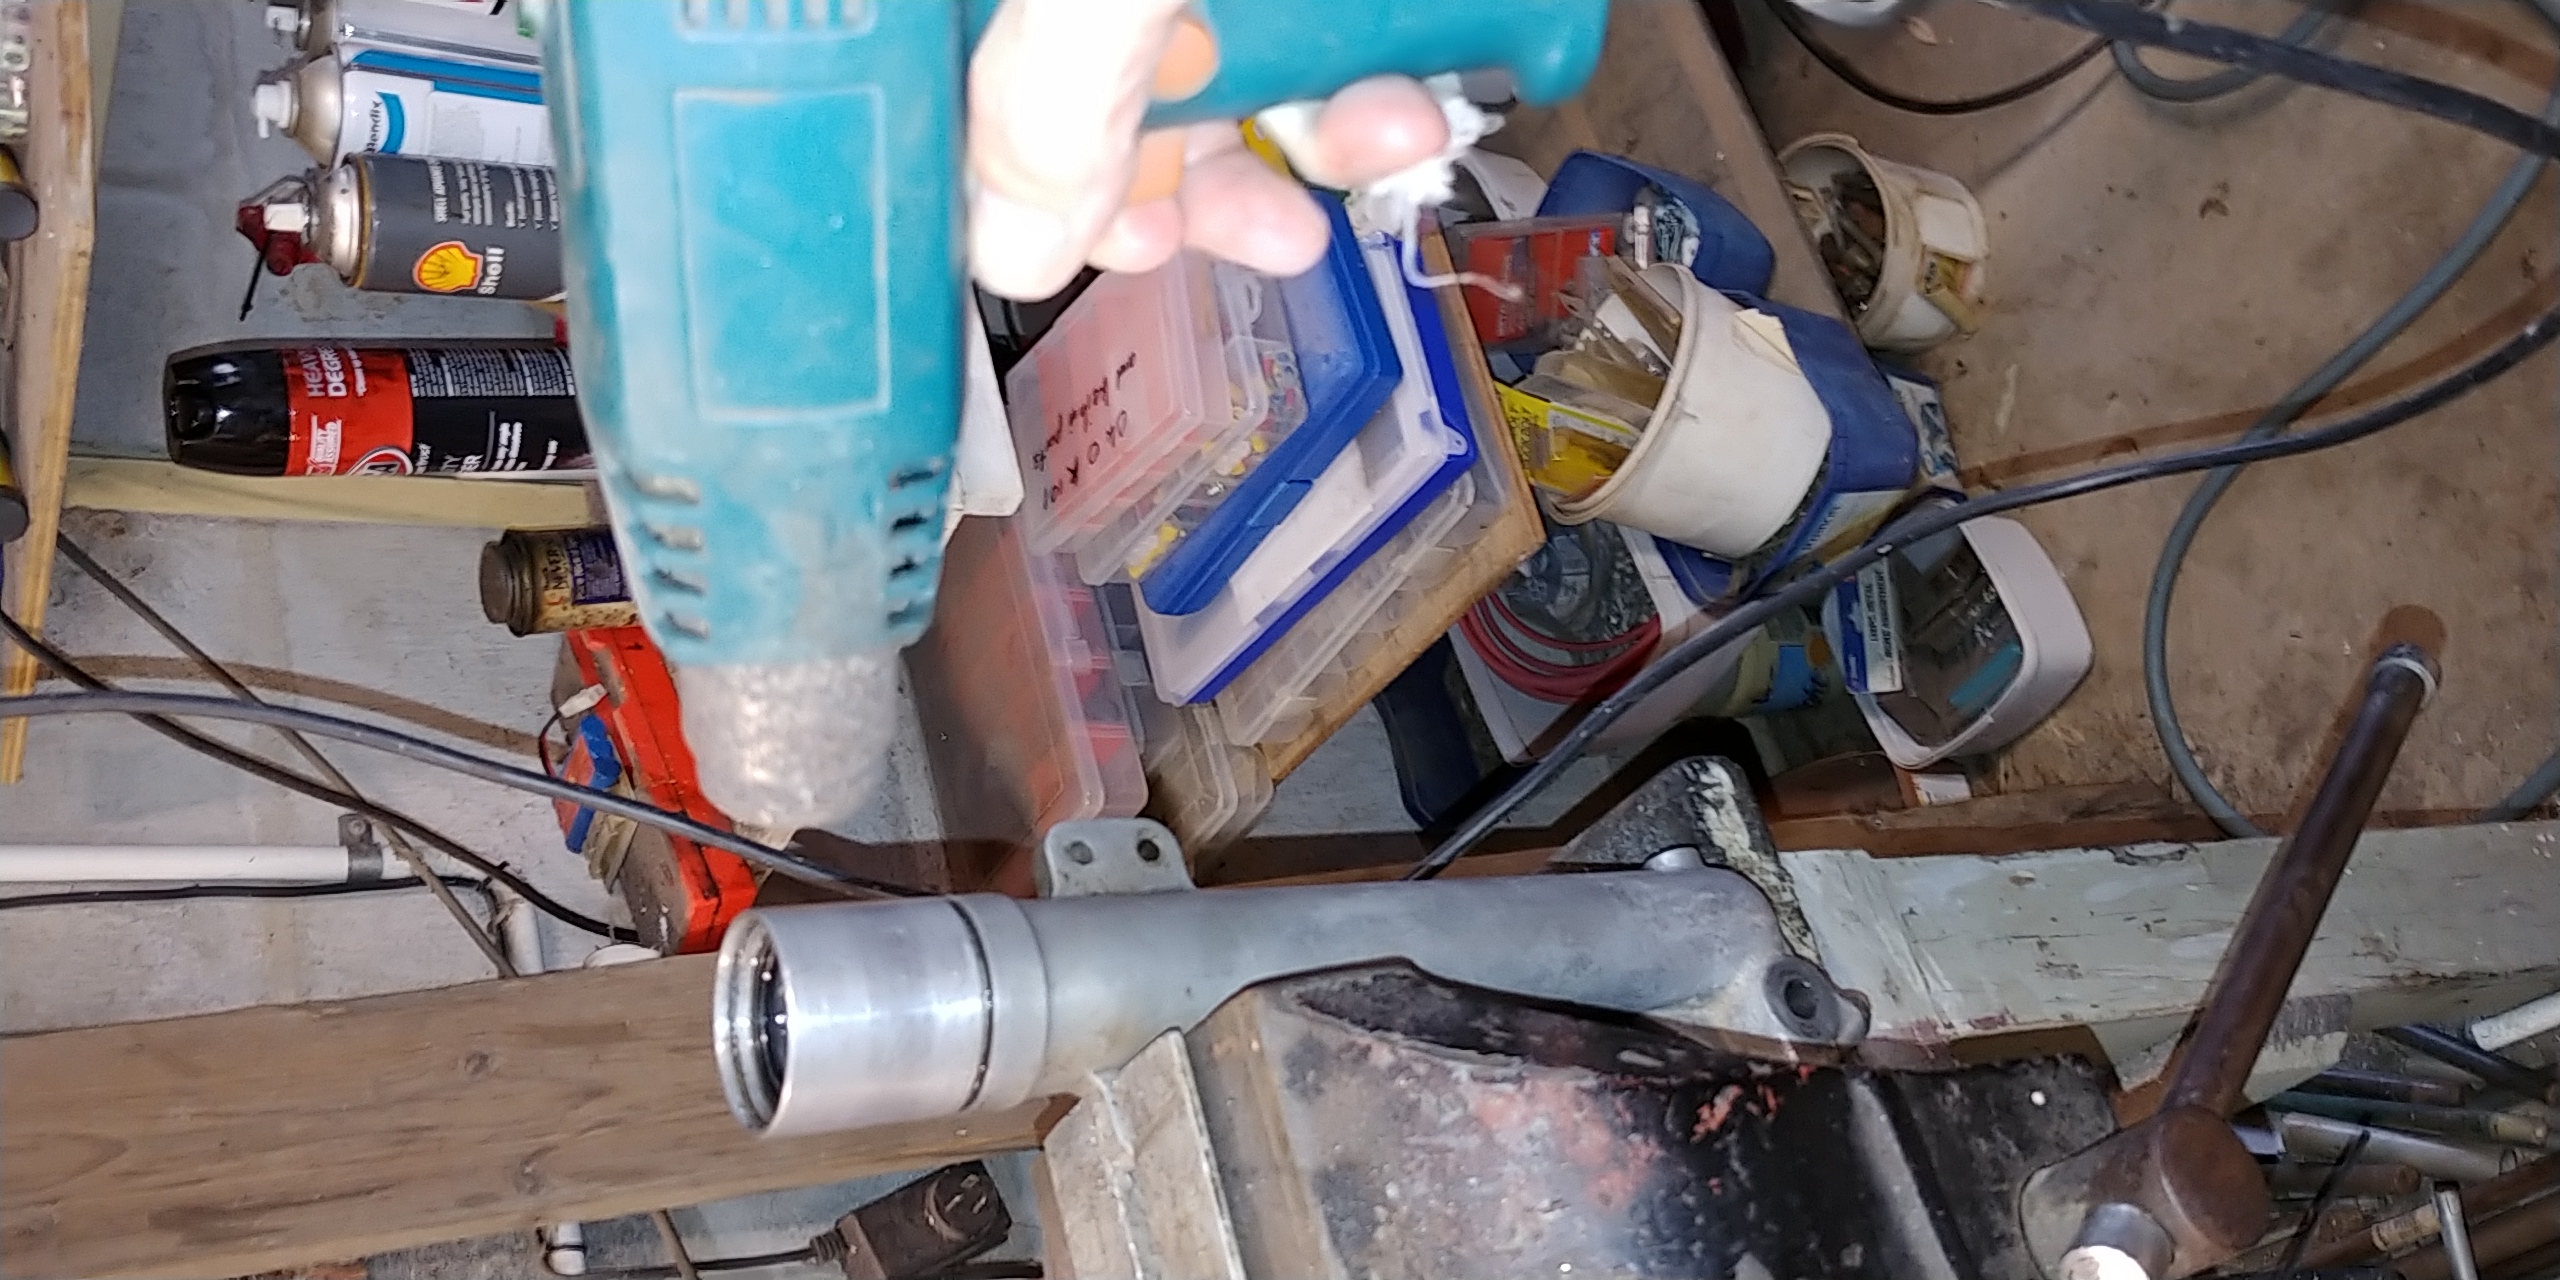
- 20200809_173650.jpg (1.26 MiB) Viewed 2383 times
Pull out old seal
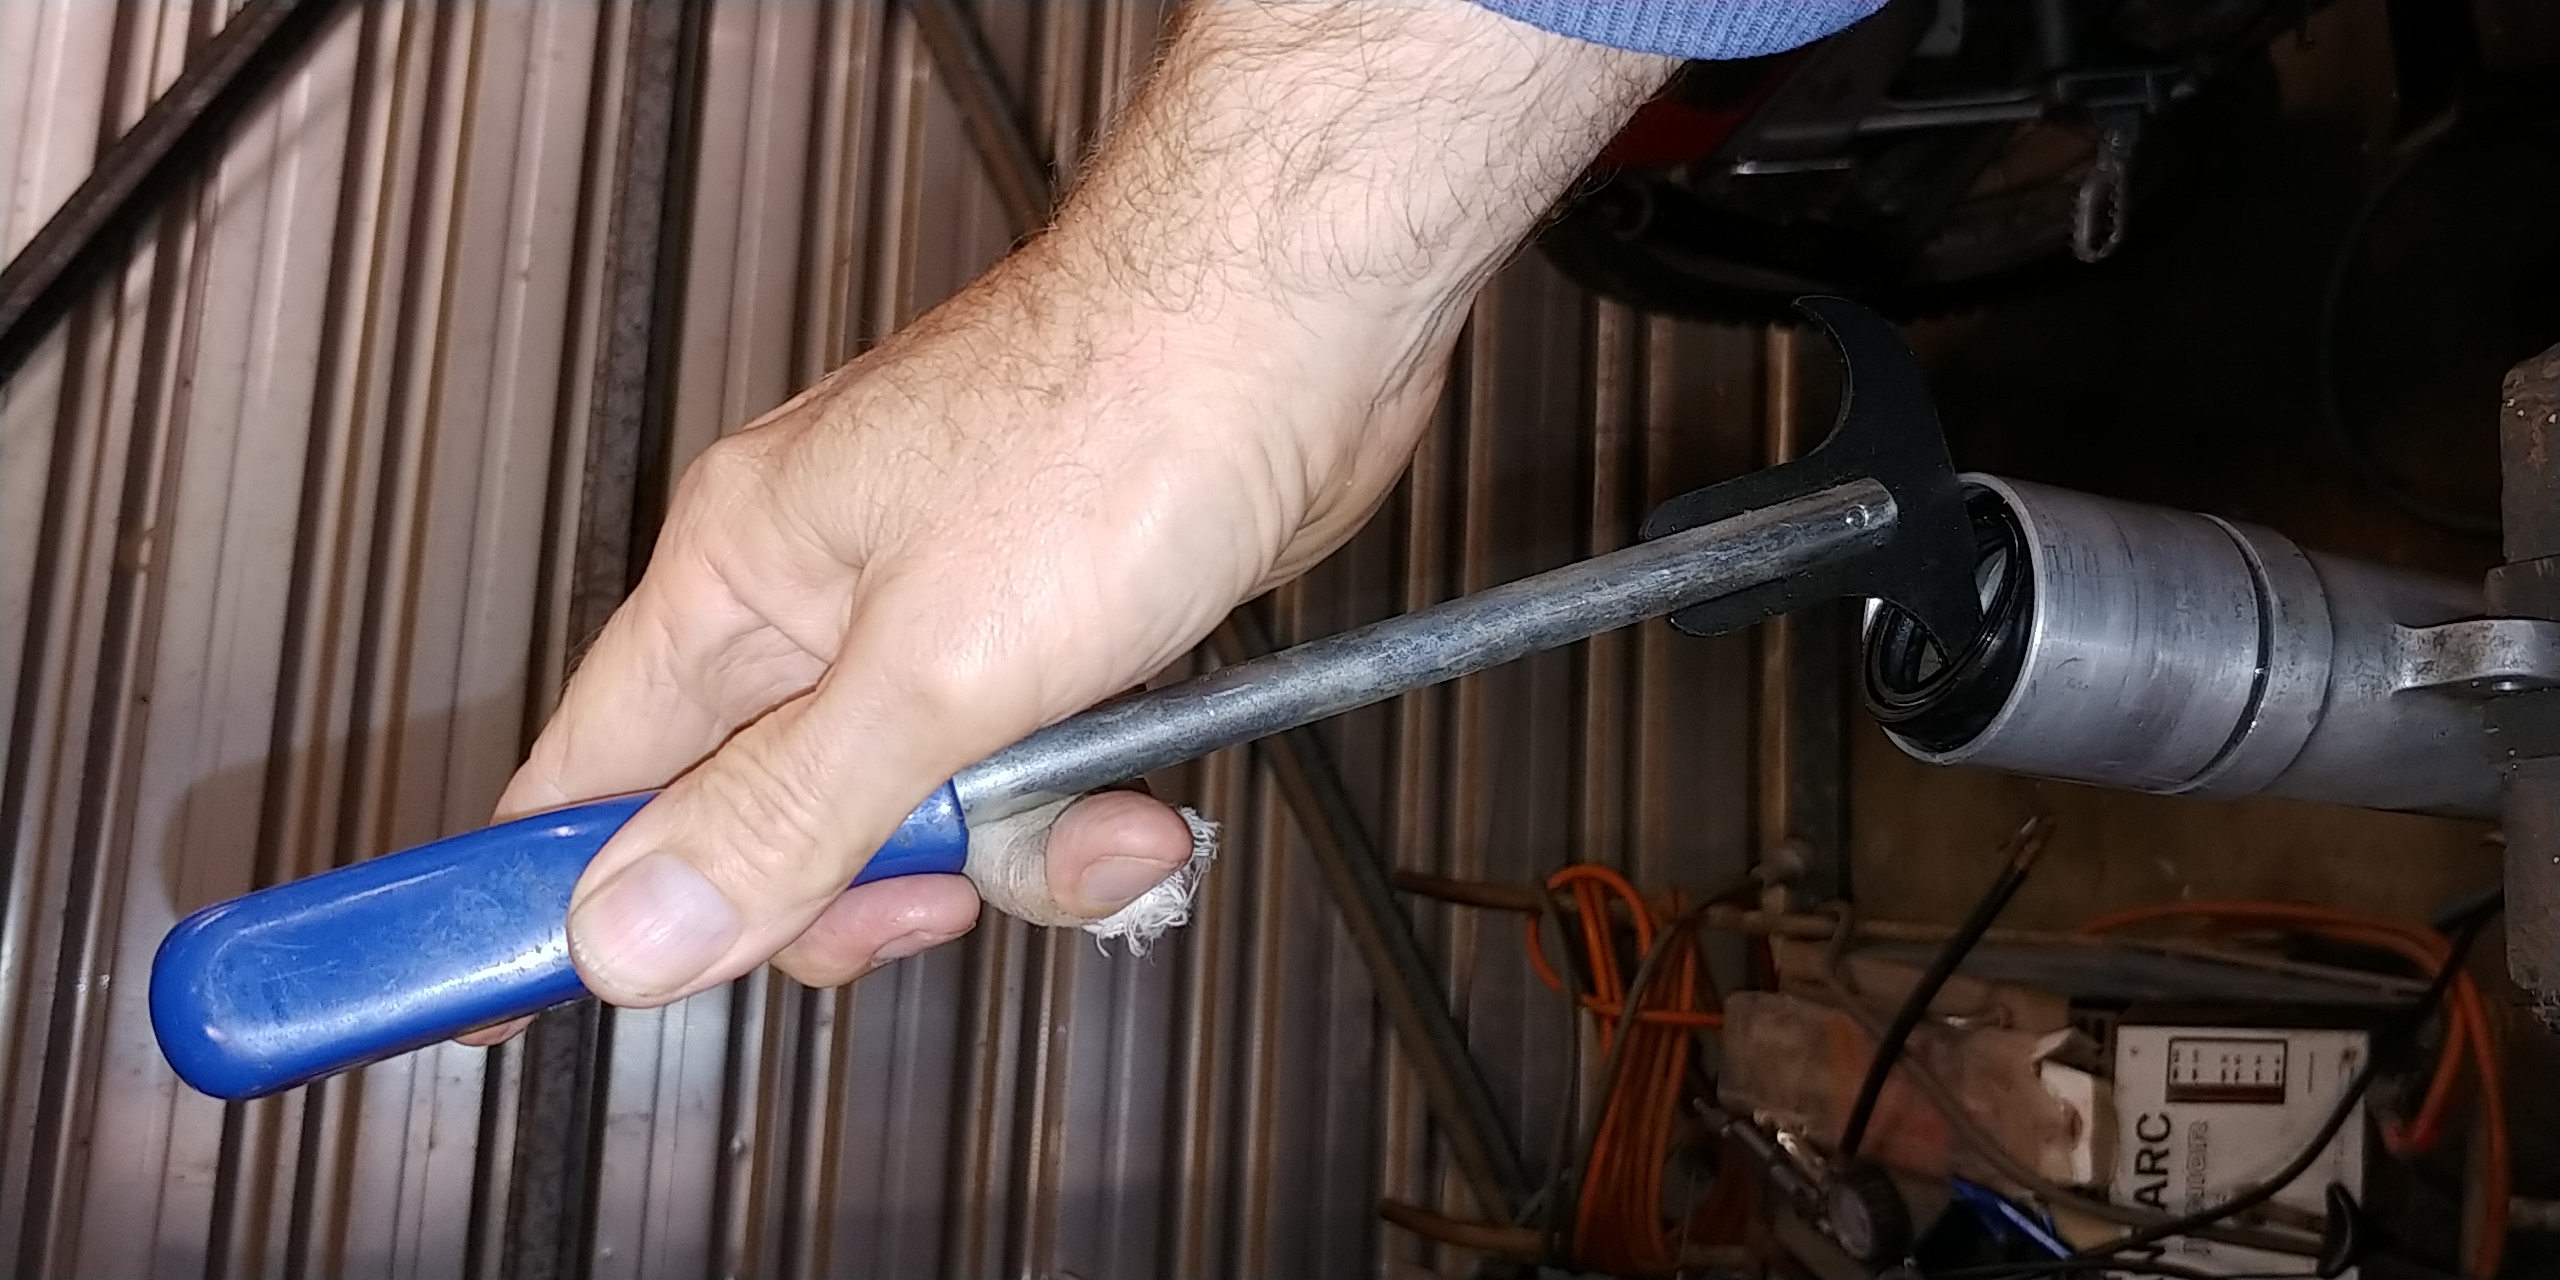
- 20200809_182726.jpg (1.12 MiB) Viewed 2383 times
Make a seal pusher. The SKF seals have a very thin top edge and I didn't have anything exactly the right size to push the seal with
Re: Basket Cases
Posted: Sun Aug 09, 2020 7:57 pm
by Bully fanatic
Re: Basket Cases
Posted: Sun Aug 09, 2020 8:00 pm
by Kurt
You've lost a bit of lubricant onto your paper there David but if you check the advert you will know where to go to restock.
The compressed air may come in handy too but I would put away the heat gun.
That seal remover is quite a novelty also much more refined then my method with a large flat blade.
Re: Basket Cases
Posted: Sun Aug 09, 2020 8:21 pm
by brent j
David Lahey wrote:Brent you reminded me of some things with your rear sprocket story.
Back in 1974 a school friend had a new RL250 and couldn't get a small enough front sprocket for it so he machined the centre out of a smaller sprocket and the outside off the RL sprocket and stick welded the two together.
In about 2001 I'd just got my KT250 running but the gearing was ridiculously high, I think it was a 15 front (428 chain). Small front sprockets for the KT were difficult to source but I had one on order from Fred Carter in NZ and a trial coming up before it was going to arrive. I had a 13 front sprocket from a TY175 and it had a smaller diameter shaft hole and different width splines but there was the same number of splines, so with hand tools (hacksaw and files) I cut the KT splines and diameter into the Yamaha sprocket. It worked a treat.
I used to do the same with front sprockets for my TL250, get a 125 sprocket with (I think) 11 teeth, soften it, bolt it to a 250 sprocket with the threads drilled out, file it then case harden it.
Re: Basket Cases
Posted: Mon Aug 10, 2020 6:11 pm
by David Lahey
More progress on the
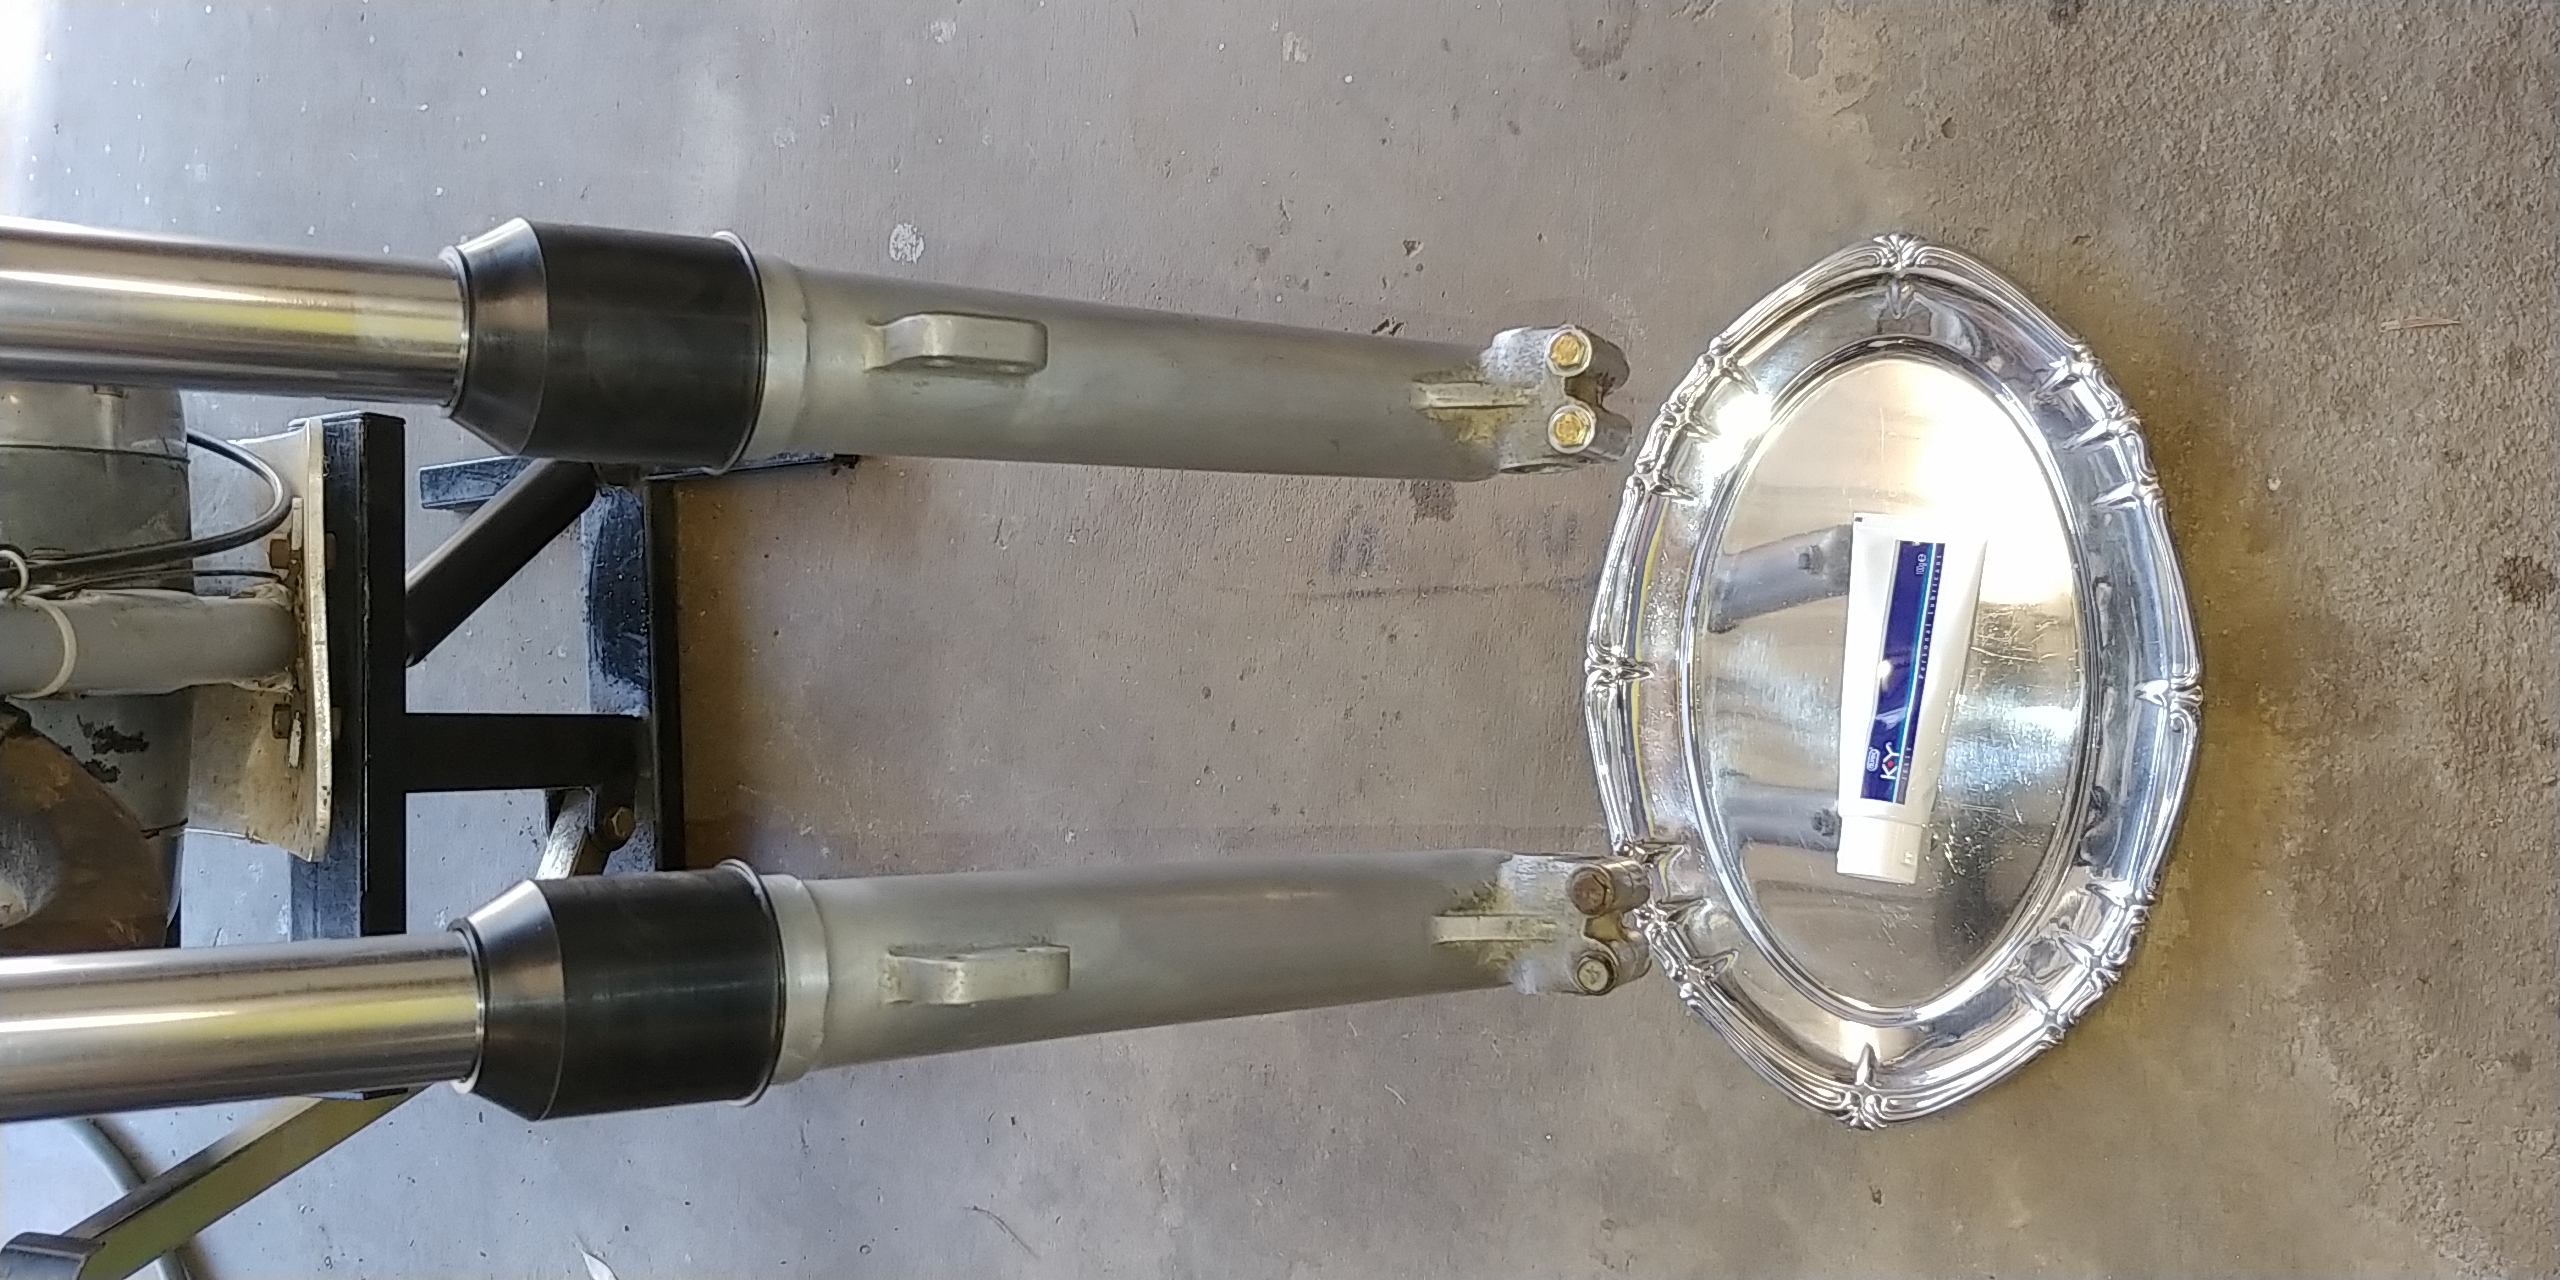
fork seals. I've used the fork lube that Kurt suggested but won't be able to test ride it just yet. I'm sure with those new green SKF seals and the special Kurt lube instead of my usual fork oil there is zero chance of anything leaking.
The bloke who sold me the fork seals phoned up soon after I did an on-line order to see which model Laverda the seals were for (because he is a Laverda Specialist). Once we sorted out that they were actually for an old spanish trials bike, he warned me that I should make sure that the snap rings held the seals firmly in place because those green SKF seals are a much lighter push fit than normal fork seals and they might cause a bit of havoc if they moved in the sliders.
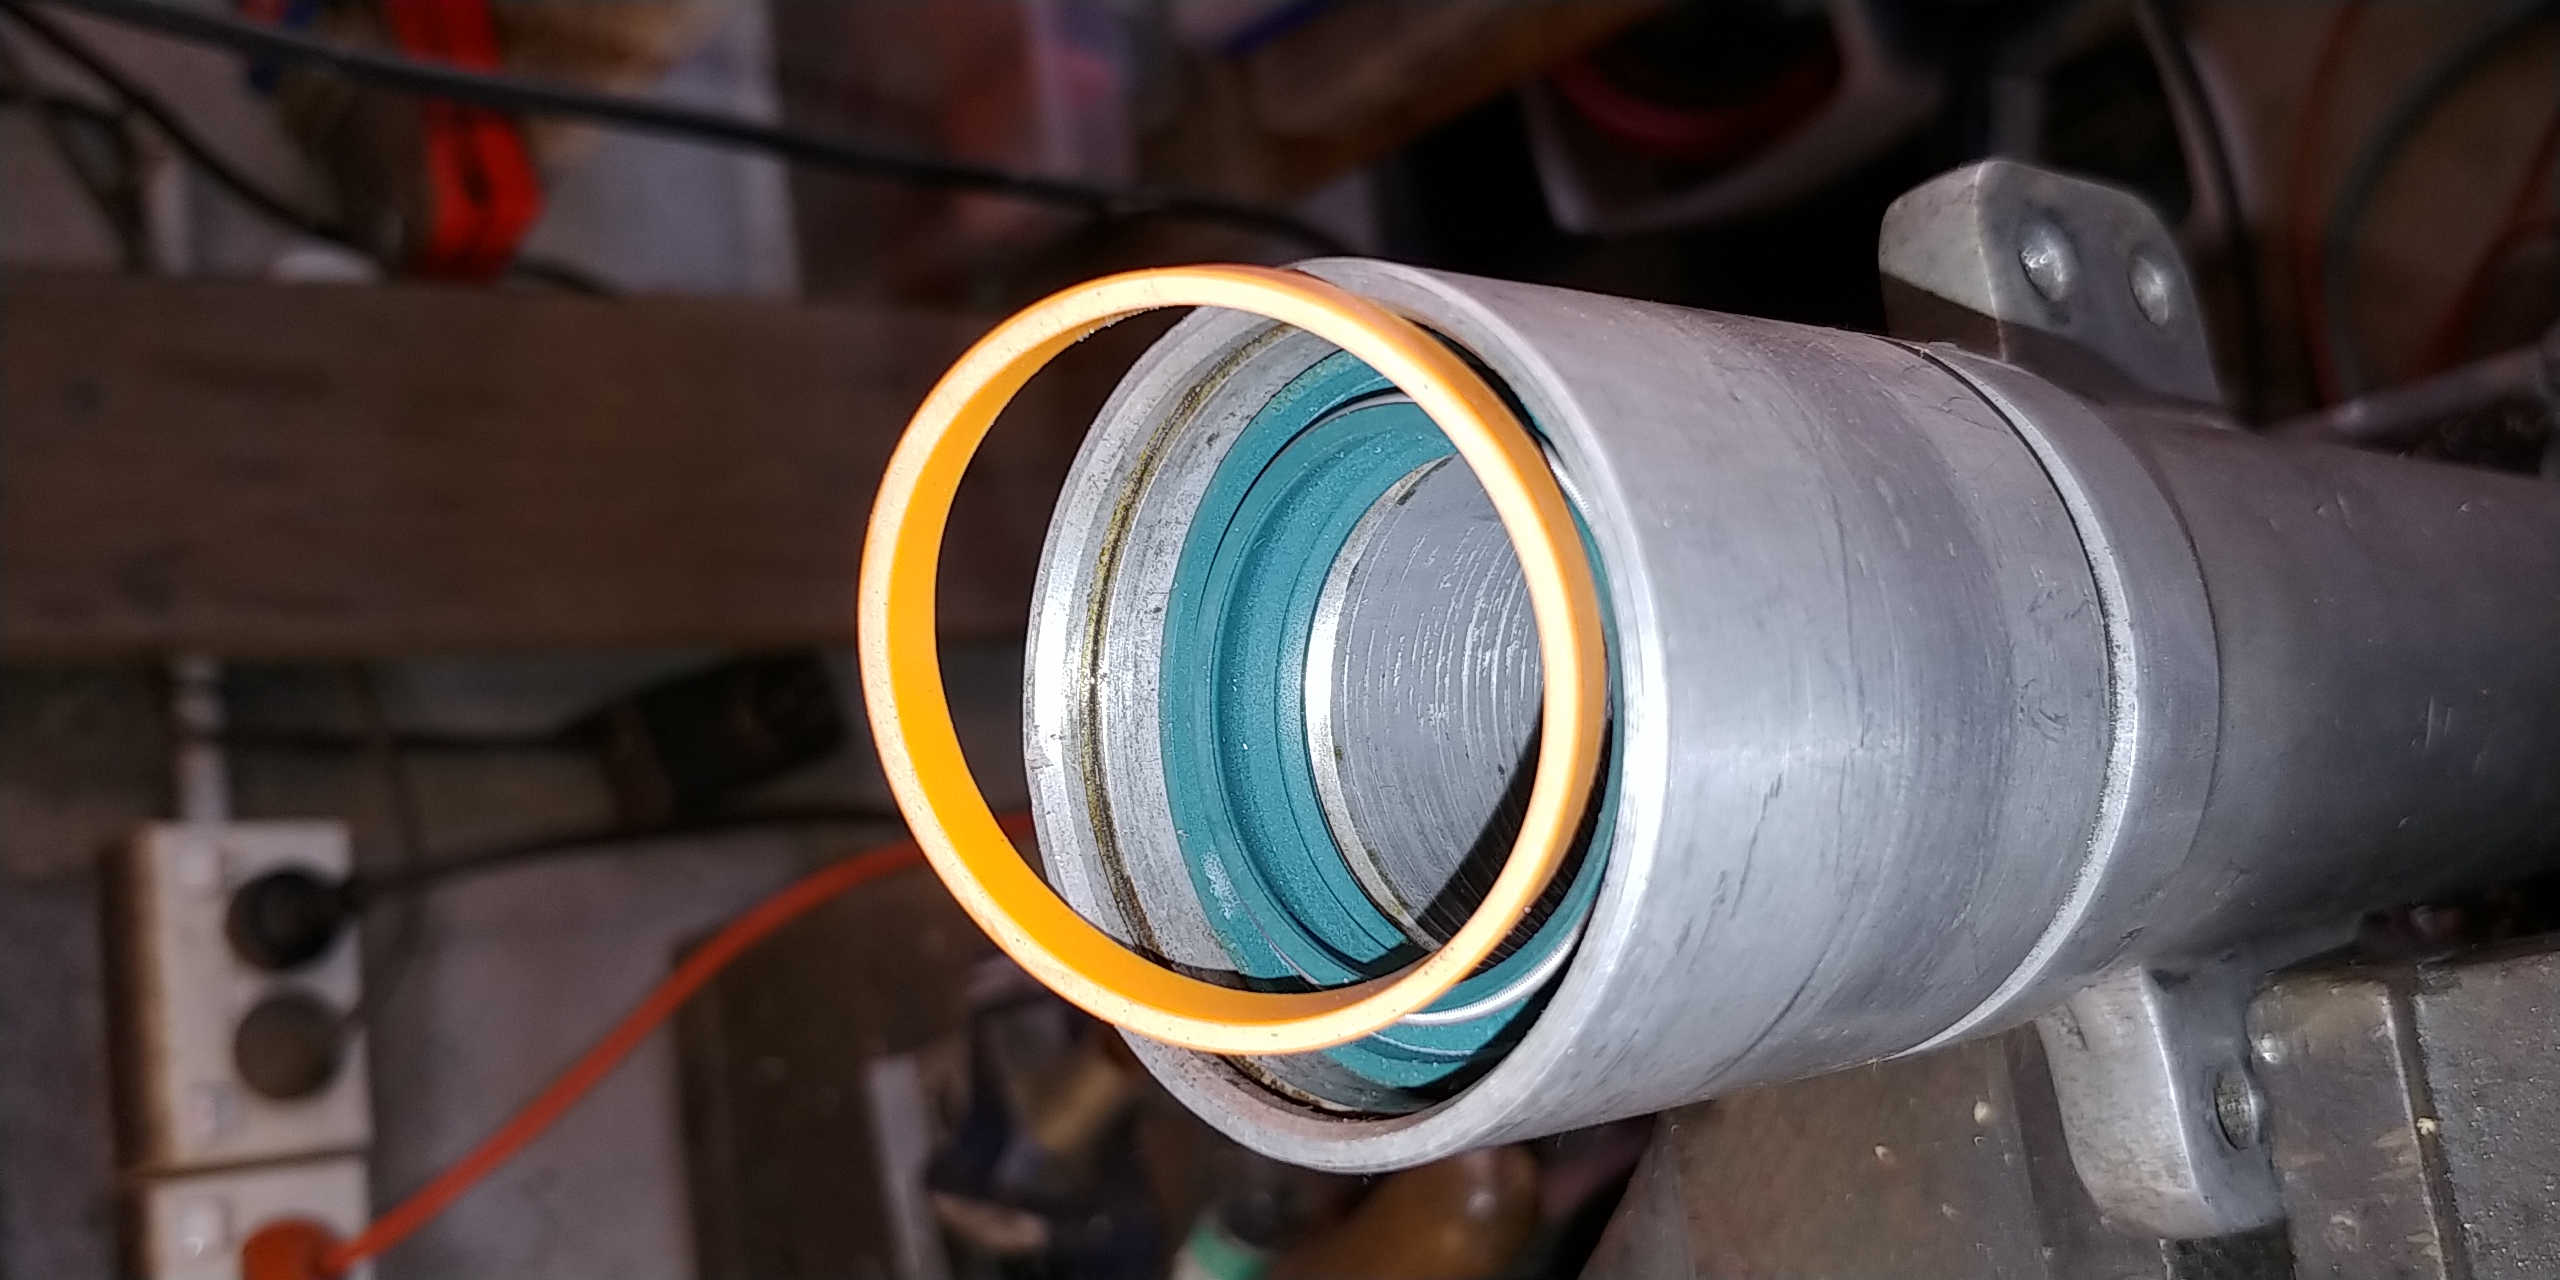
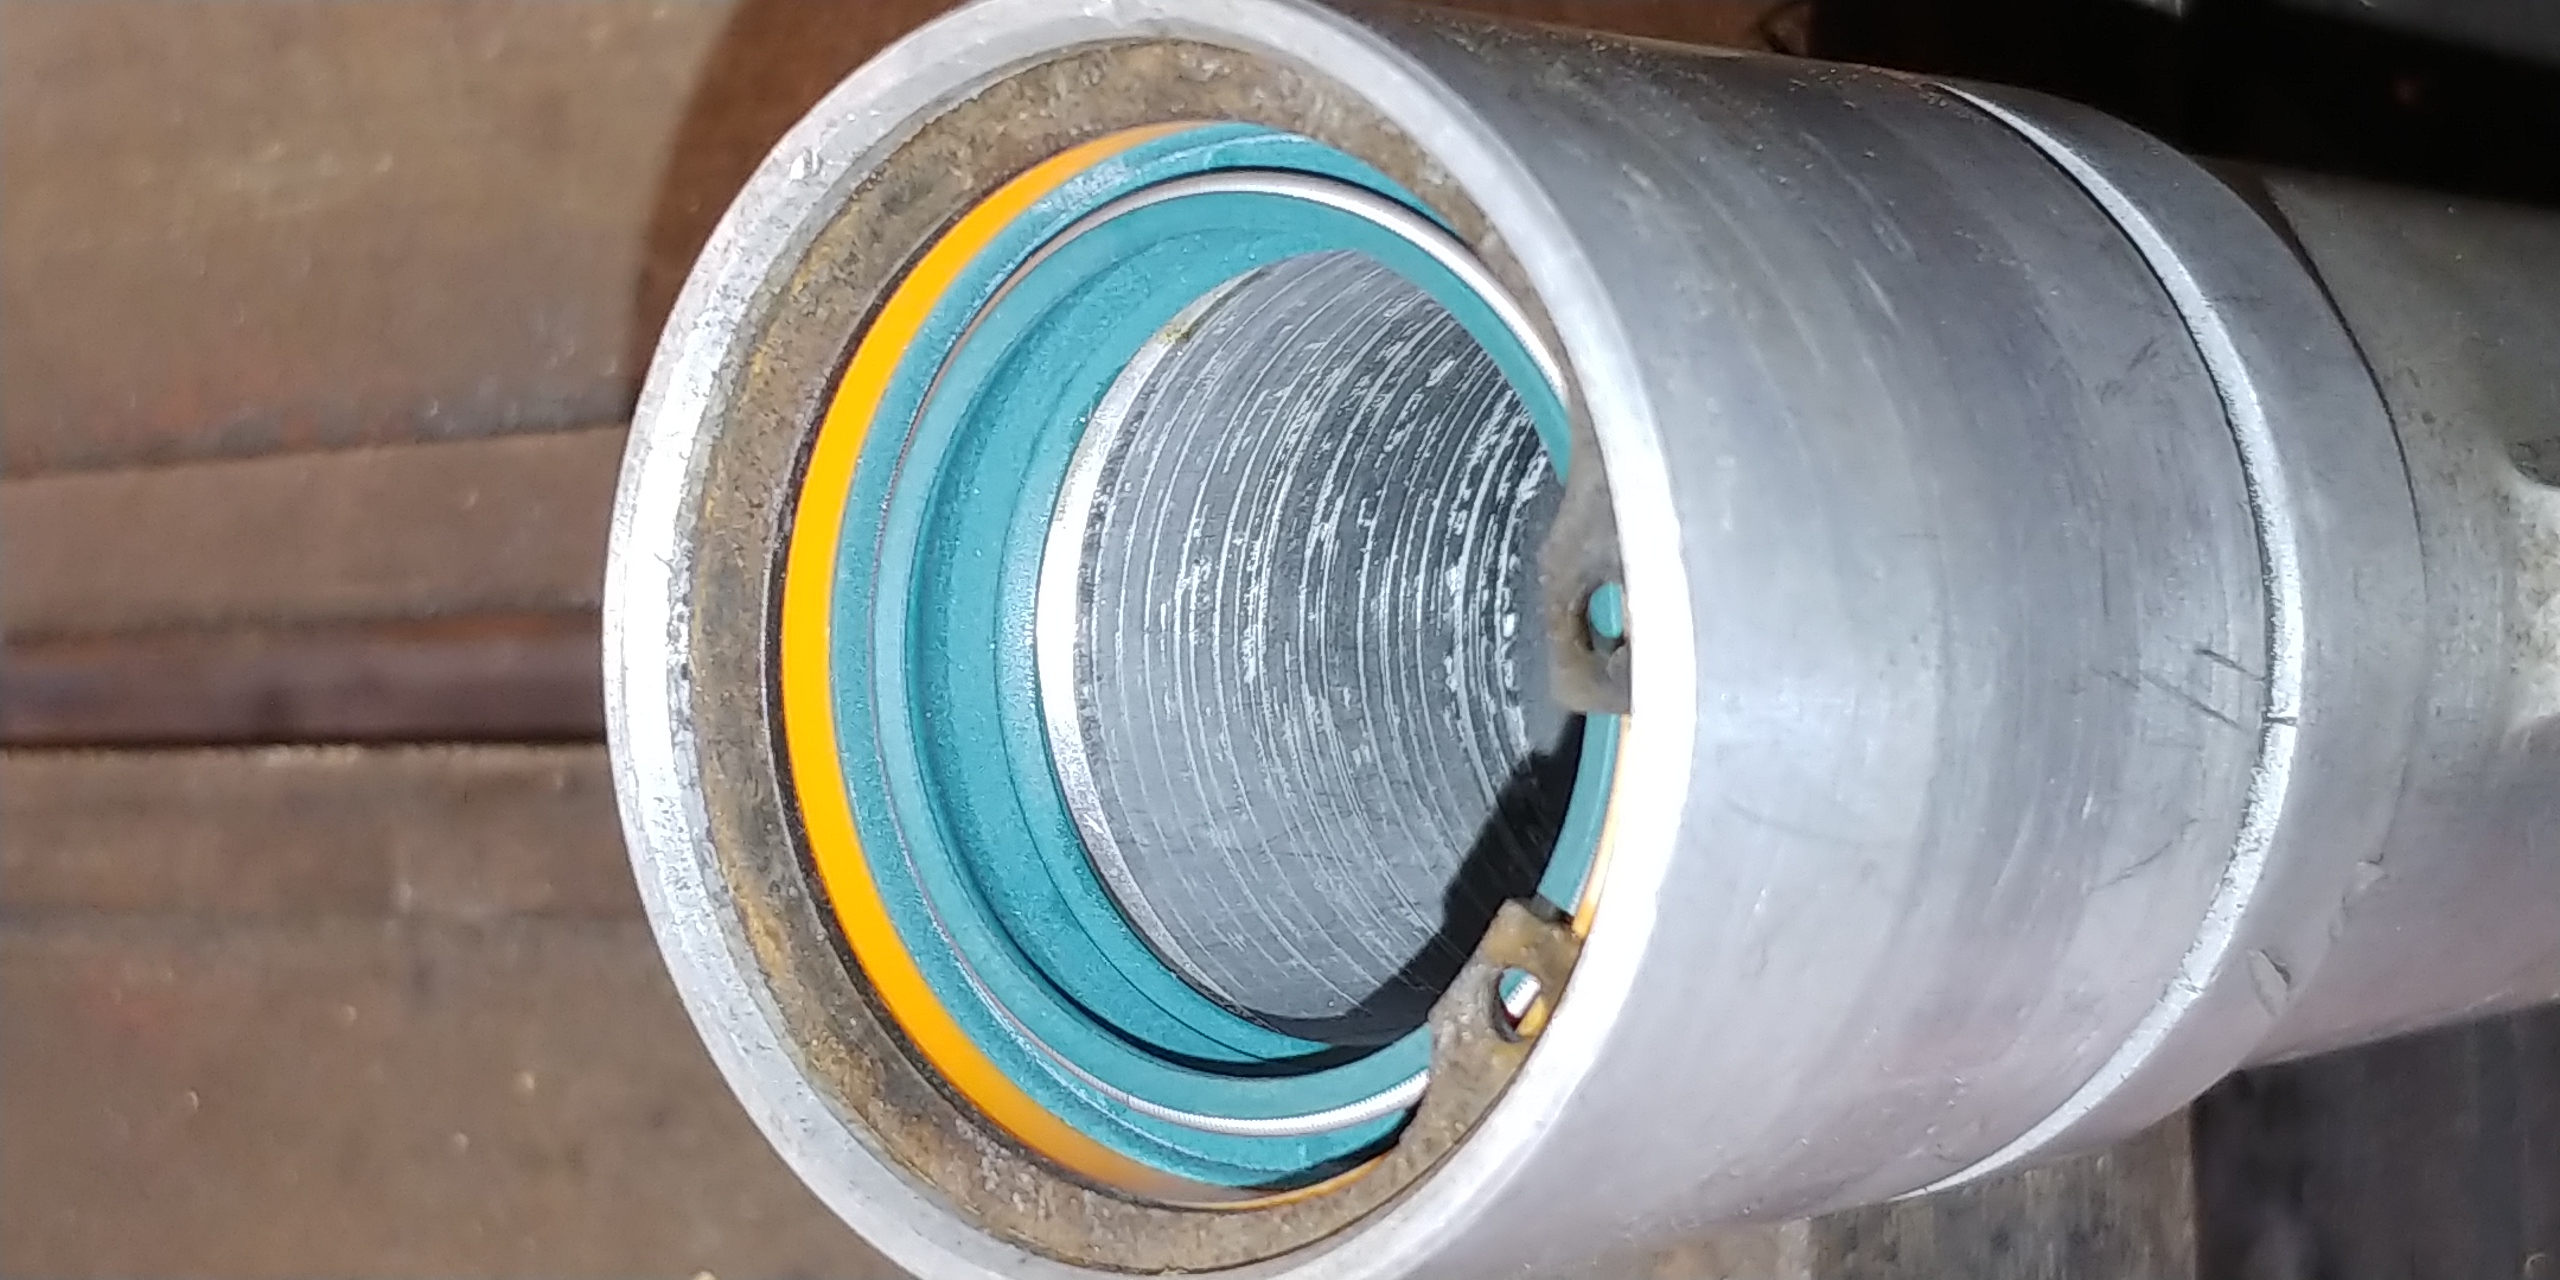
The original seals in these forks were thin and there were two per leg which added up to a thickness that was perfect for where the snap ring groove is. The green SKF seals are just over 10mm thick and the groove is at 15mm. So I made spacers from the same piece of orange PVC conduit as the seal pusher was made from.
The seals were a much lighter push fit than I've witnessed before.
- 20200810_115401.jpg (1.07 MiB) Viewed 2328 times
I made the spacer rings so the seals got about 0.2mm crush.
- 20200810_120608.jpg (1 MiB) Viewed 2328 times
- 20200810_143737.jpg (1.32 MiB) Viewed 2328 times
Bultaco brakes
Posted: Tue Aug 11, 2020 10:58 am
by David Lahey
I'm in the process of building up a replacement front wheel for my model 49
and the hub and rim are away being vapour blasted. The brake drum surface was machined smooth before it went to the blasters place.
I had some NEWFREN brake shoes relined in thicker material because the drum is now bigger diameter than standard. To make the oversize shoes fit the drum perfectly, I'm going to machine the linings down to the right radius.
I've machined TY

and the

KT brake shoe linings before but the front on a
Sherpa T is not as easy as them. On the KT and the TY, the shoes are held firmly enough on the brake backing plate that you can just mount the backing plate on an axle and machine away. On the
backing plate, the design of the shoe pivot is such that the shoes are not held firmly enough for machining.
Today I made this contraption to hold
shoes in place. The shoes mounted on it in the photos are the shoes I'm currently using in the original wheel and are just there to test out the clamping device.
There is a packing piece between the backing plate and the shoes and this is shimmed to hold the shoes the right distance from the backing plate. The other side has clamping screws to push against the shoes.
Re: Basket Cases
Posted: Wed Aug 12, 2020 4:34 pm
by Twinshock200
Hi Folks
Can I ask the experience of anyone who has respoked a trials wheel one spoke at a time.
Is it a no no or can it be achieved successfuly one at a time.
I know the fundementals of how it works but never attempted it.
Any advice would be appreciated.
Cheers
Re: Basket Cases
Posted: Wed Aug 12, 2020 5:15 pm
by TerrY
David,
I have never done anything like this so this question may be totally wrong.
When you machine the brake shoes, do you leave the actuation arm in the bottom position or do you have the actuation arm in the anticipated position where the shoes just contact the inside of the drum? And how do you know the anticipated position?
I also see that the broken finger is still in a splint - somewhat worn by all your activities.
Have fun.
TerrY
Re: Basket Cases
Posted: Wed Aug 12, 2020 6:32 pm
by David Lahey
TerrY wrote:David,
I have never done anything like this so this question may be totally wrong.
When you machine the brake shoes, do you leave the actuation arm in the bottom position or do you have the actuation arm in the anticipated position where the shoes just contact the inside of the drum? And how do you know the anticipated position?
I also see that the broken finger is still in a splint - somewhat worn by all your activities.
Have fun.
TerrY
That splint yes it gets filthy in the workshop. The most often so far is a new splint four times in one day. I'm getting good at doing it.
The way I set the shoes up for machining is to have the cam flats parallel with the shoe pads and insert a shim of soft drink can material between the cam and the shoe pads (both sides of the cam). I then machine the shoes to the same diameter as the drum. With the shims removed, this gives just enough clearance for the shoes on the drum and the radii of the shoes and the drum are identical so you get perfect contact. My view is that the angle of the cam to the shoe pads should be close to parallel when the shoes contact the drum. I choose to do it this way to avoid generating friction between the cam edge and the shoe plate.
There is another viewpoint to how to set up the cam. The other way to set up the cam angle is to aim for a significant rotation of the cam before the shoes touch the drum. This has the advantage of increasing the mechanical advantage in the mechanism which reduces the force required at the handlebar lever for the same force between the lining and the drum. It has the disadvantage of reducing feel which is caused by the friction losses at the cam edges. If I was to machine my shoes to suit this second viewpoint, I would use thicker shims than the soft drink can material while machining.
As for the arm, I fit it on the spline so that the shoes contact the drum with the cable at 90 degrees to the arm.
If the bike has a square drive for the arm (like a

does) you'll find that the arm will be at the correct angle to the cable if the shoes are machined as I described.